




1.2.0
October 2026
The Animation Update
RigBridge now comes in two editions: RigBridge Lite, the export pipeline, custom FBX exporter, weight tools and diagnostics, and RigBridge, which adds Smart Fit, Retarget Animation, Root Motion from Hips and the Creature Pack. Features marked Full are in RigBridge only.
New features 61
A new panel14
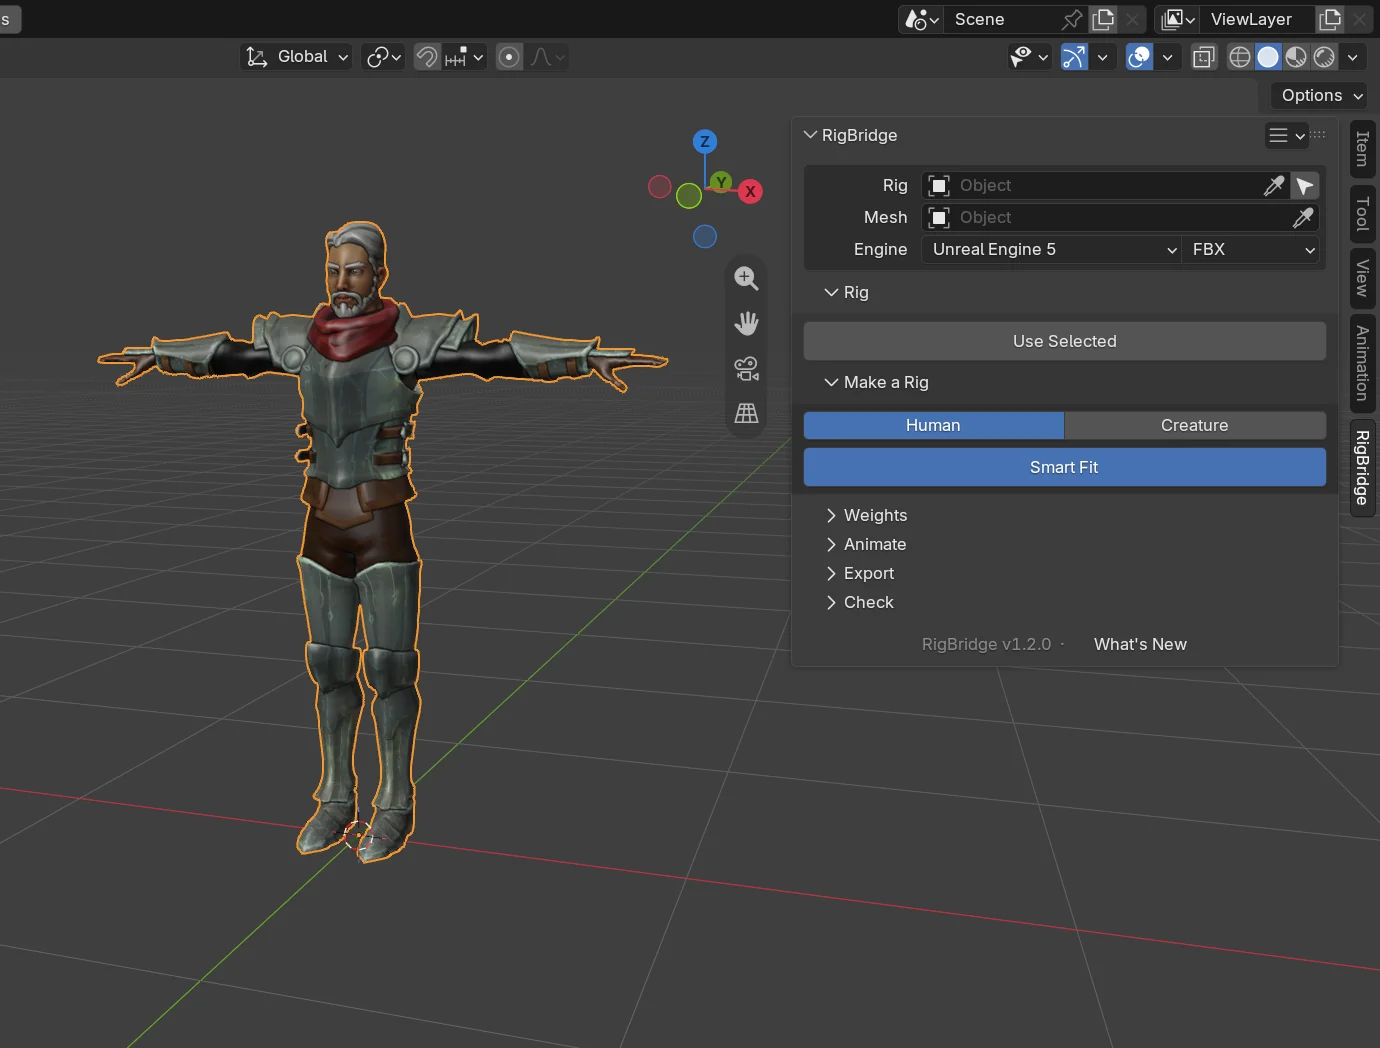
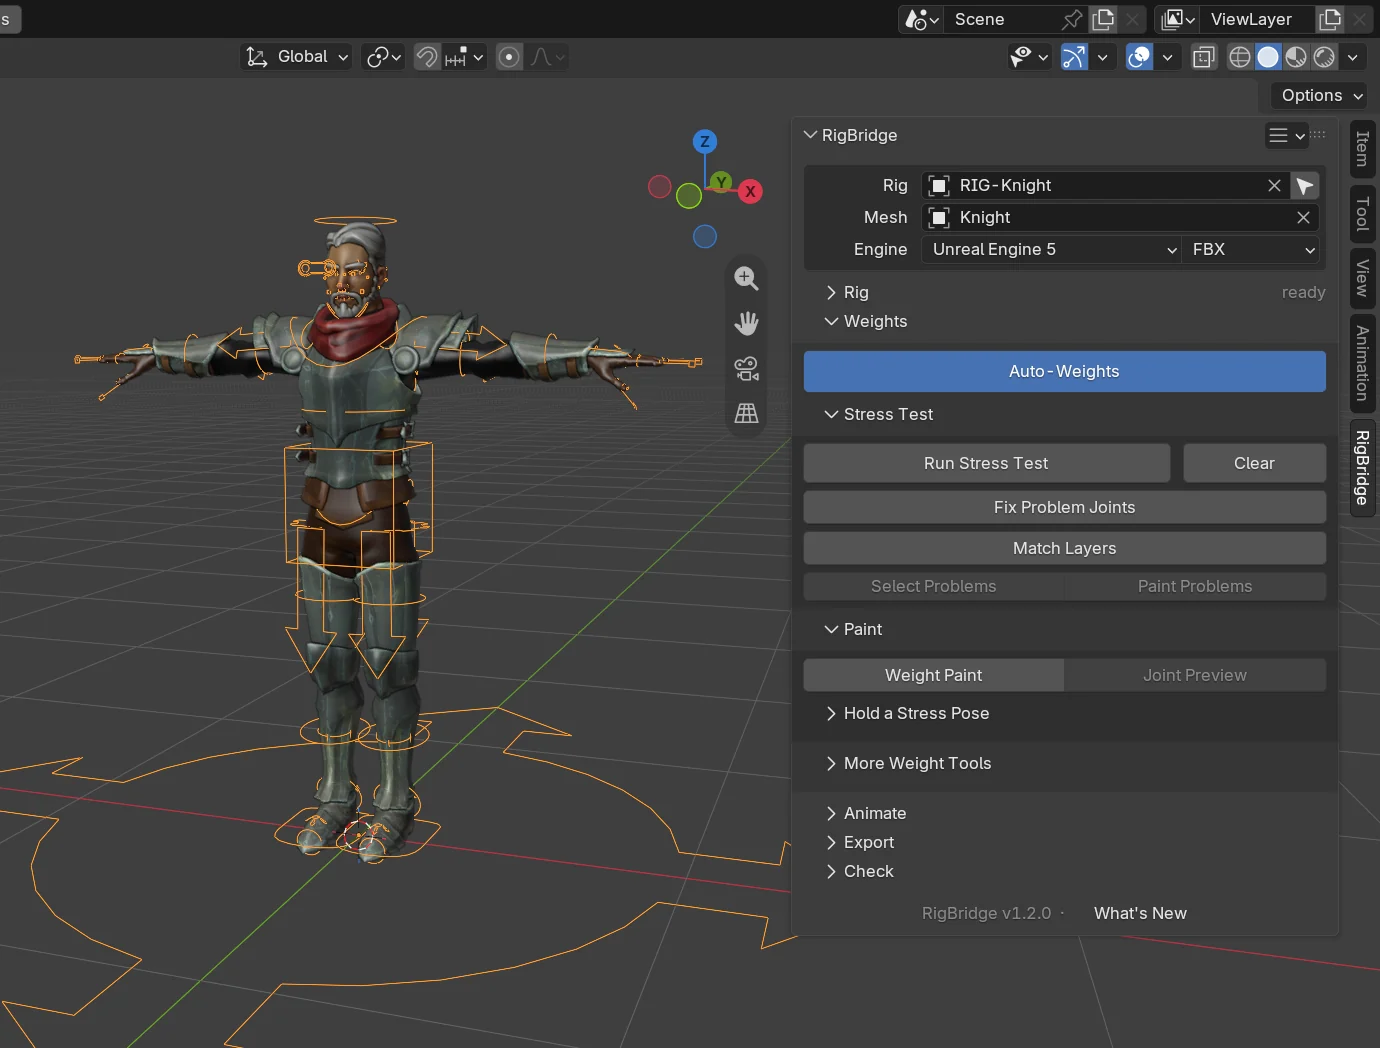
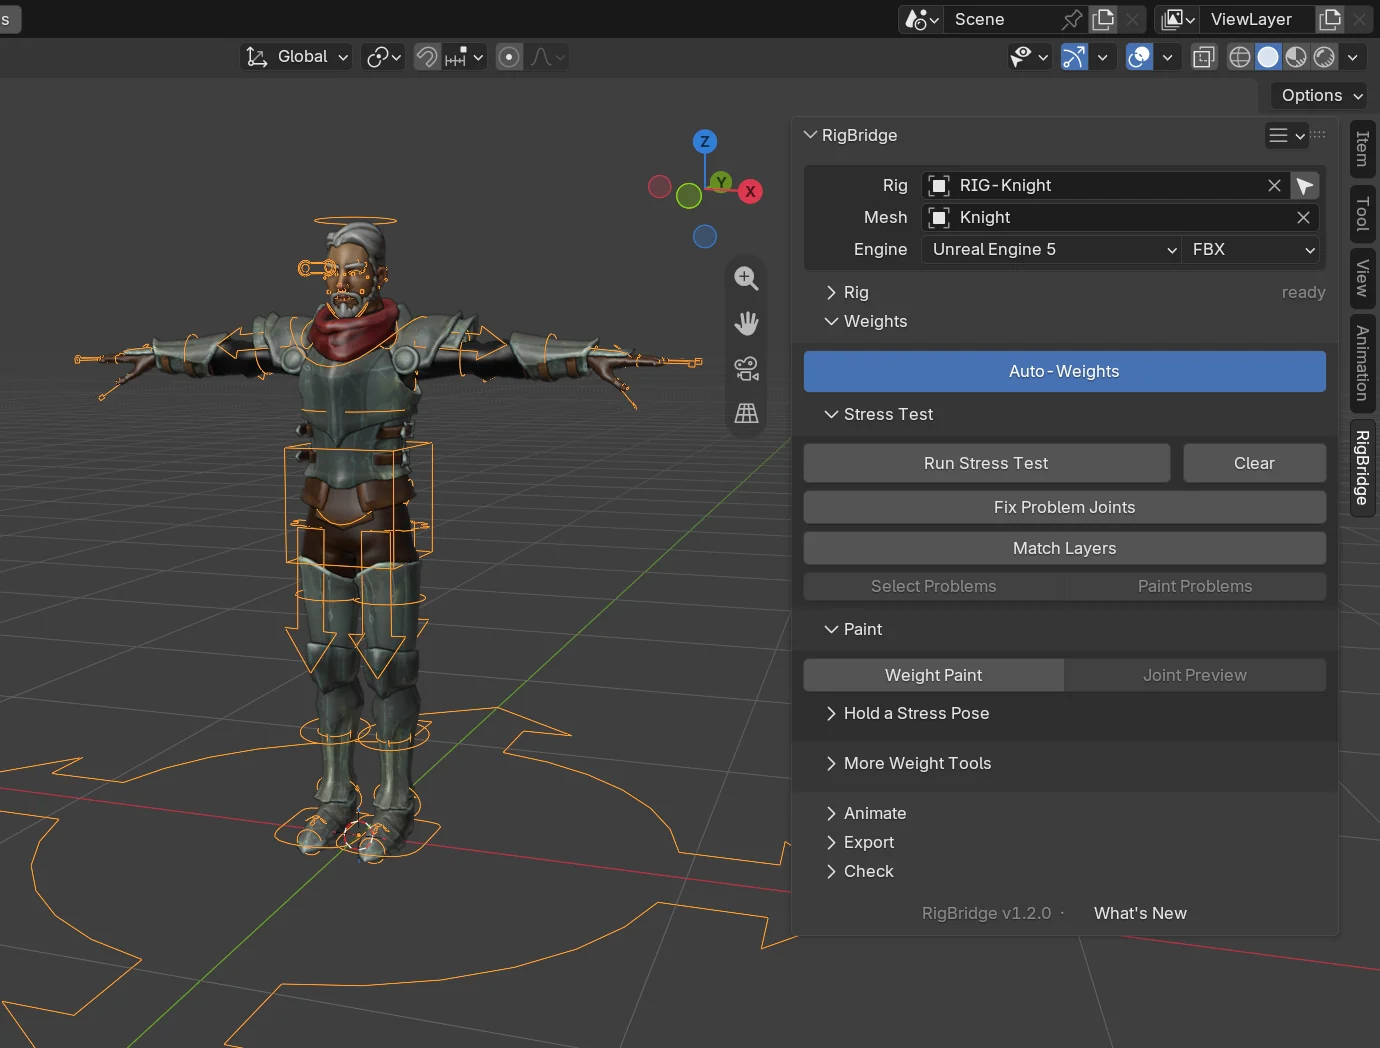
- One section per step, in the order you work: Rig, Weights, Animate, Export and Check. Each section's header says where its step stands: the rig ready, how many vertices the stress test marks red (with a warning sign), how many clips, baked, the export readiness score. When RigBridge moves you on, like Generate Rig to Weights, that step opens for you.
- The button for what to do next is blue, and only that one: Auto-Weights while your character has no weights, Fix Problem Joints while something looks broken, Build + Bake All until it's baked, then Quick Export.
- No hints to read every time: explanations are in the tooltips. A greyed-out main button says why, until it can run.
- The rig, the mesh, the engine and the file format sit at the top, used by every step. Use Selected picks your rig and your character in one click, and the mesh shows how many other parts (eyes, hair, clothing) your character has. Saved setups, Scene State, What's New and Help are in the menu at the panel's top right.
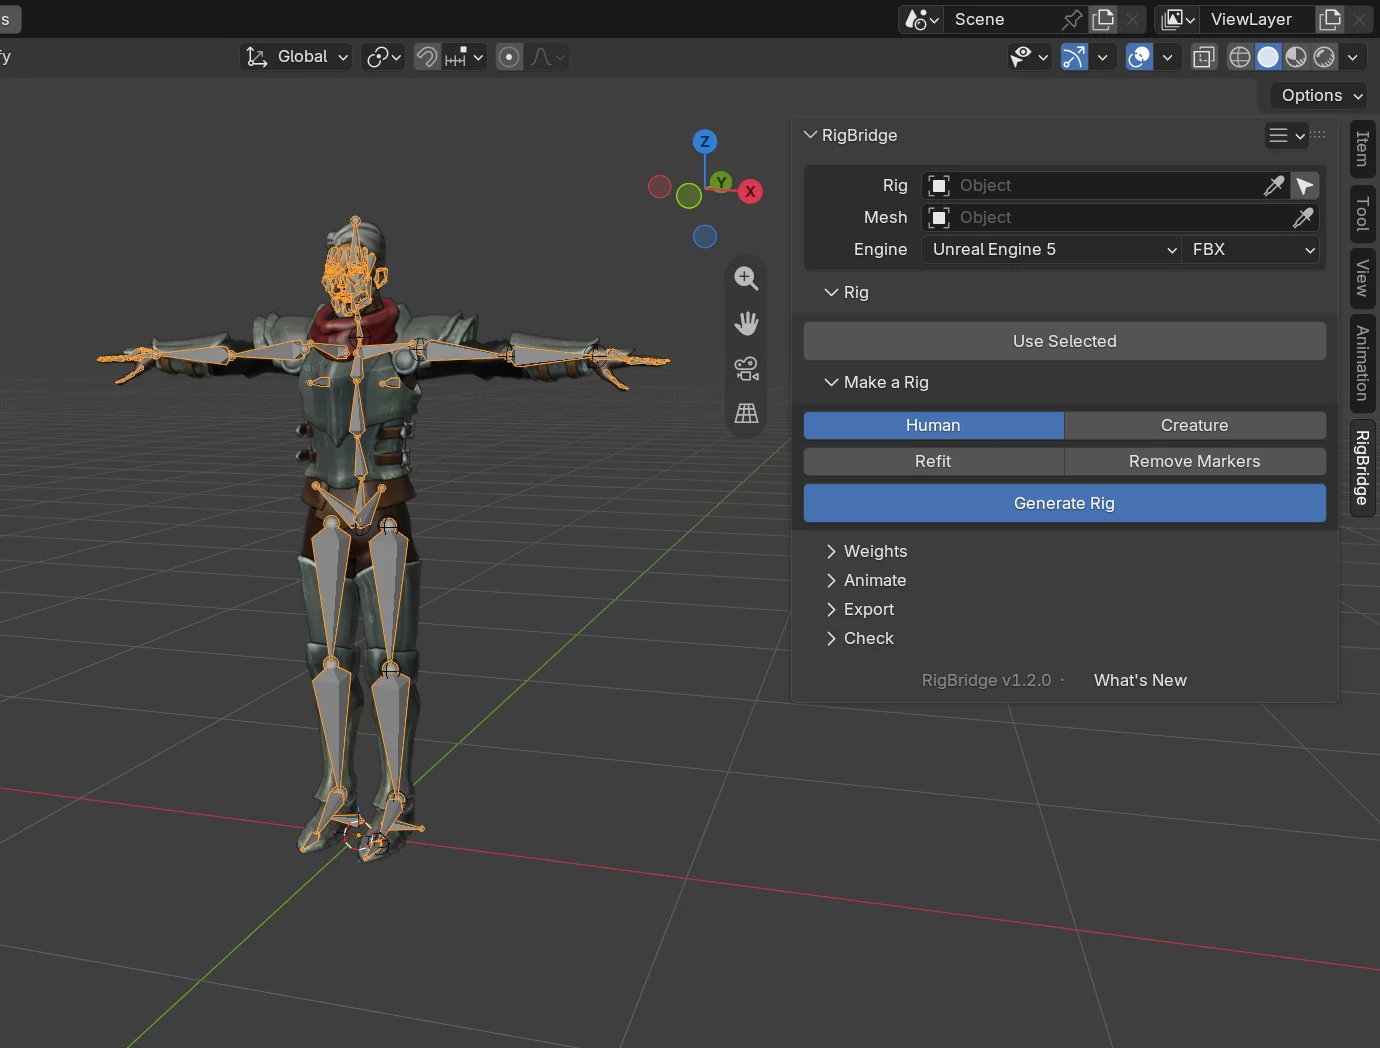
- Rig: Use Selected, or Make a Rig with Smart Fit (Human) and the creature metarigs (Creature); Your Rig (its kind: Rigify, Mixamo, Other or Game-Ready, and its body) once it's picked.
- Weights: Auto-Weights, the Stress Test with its fixes, Weight Paint, Joint Preview and Hold a Stress Pose; the other weight tools, maps and settings under More Weight Tools.
- Animate: Get Animations (retarget), the clips on your rig, Split Into Clips and Root Motion. Click a clip to play it on the rig; Browse finds one by name, Rename adds a prefix or suffix to them all.
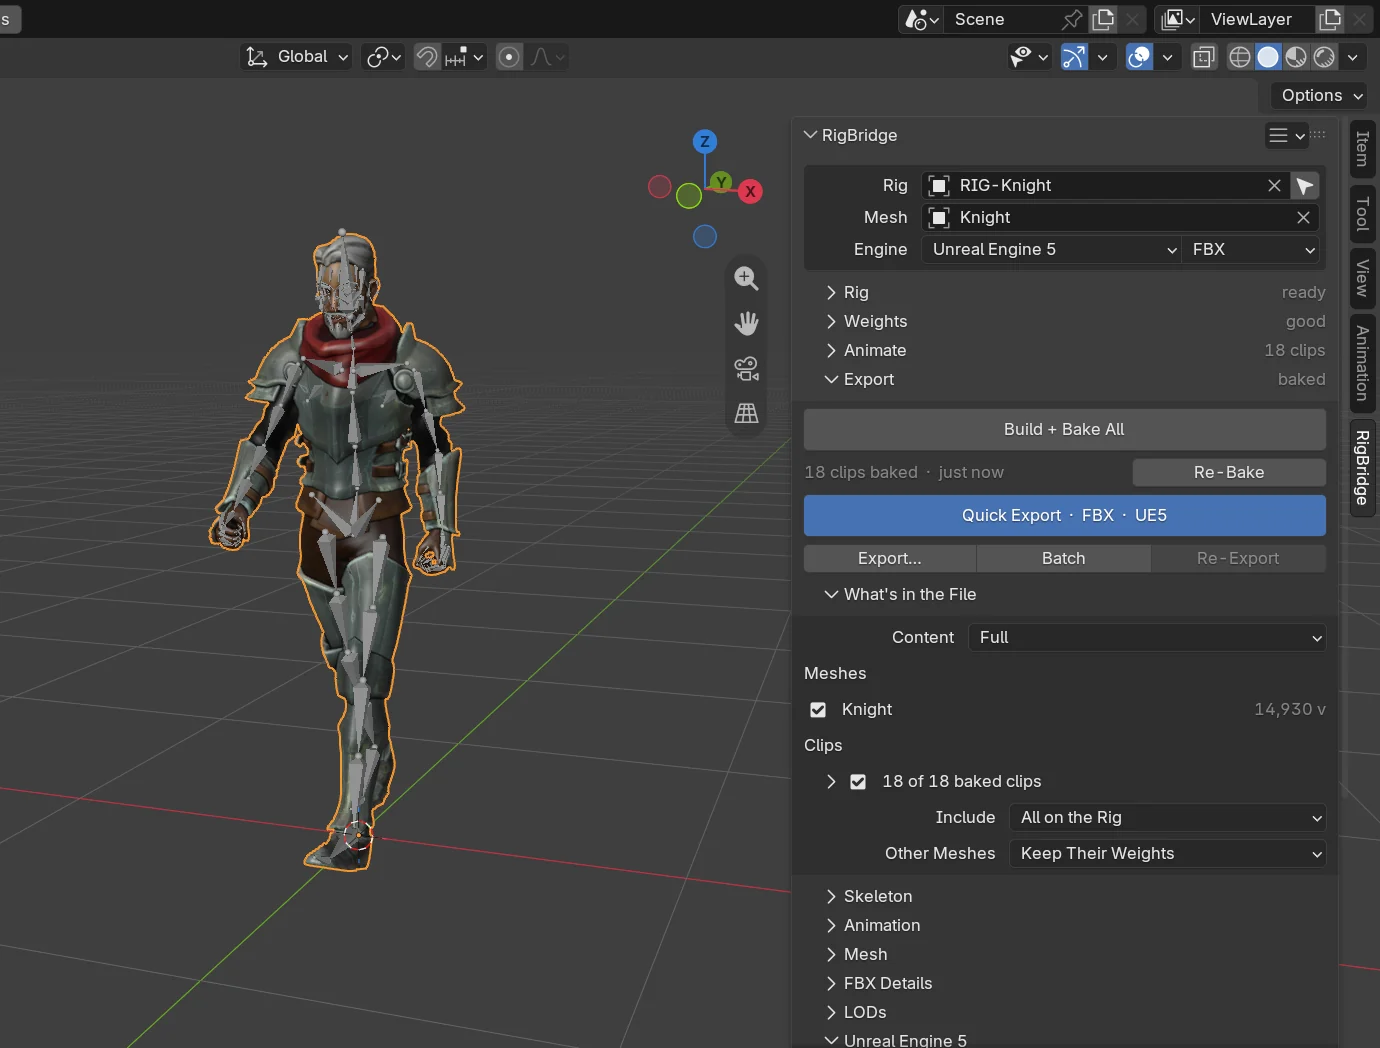
- Export: Build + Bake All (and when it last ran) and the export buttons on top; What's in the File lists every mesh and clip that goes in; the export settings in Skeleton, Animation, Mesh and FBX Details; LODs; your engine's Import Guide; Verify and the manual steps.
- Check: Check Everything sorts what it finds by area ("Weights: 1 problem", "Bake: 2 warnings"), each problem with its Fix button beside it and the bones it names under it; everything that passed is one line.
- Every button has one name, in the panel, the pie menu and search: Auto-Weights, Fix Problem Joints, Clean Export Weights, Weight Paint, Normalize Weights, Select Problems.
- Engine tips moved from under every setting into one Import Guide per engine; the few that warn about a setting stay with it.
- Joint Preview starts from Object Mode too: it enters Weight Paint on your mesh.
- The developer tools (spine and animation investigations, Debug Export and every check's full output) are switched on in the add-on's preferences.
- Where things moved from 1.1: the Pipeline tab's Setup is the top of the panel and Your Rig; Build + Bake All and the export buttons are under Export; the Tools tab's weight tools are under Weights, LODs under Export and Cleanup under Check; the Debug tab is Check.
A stress test you can trust6
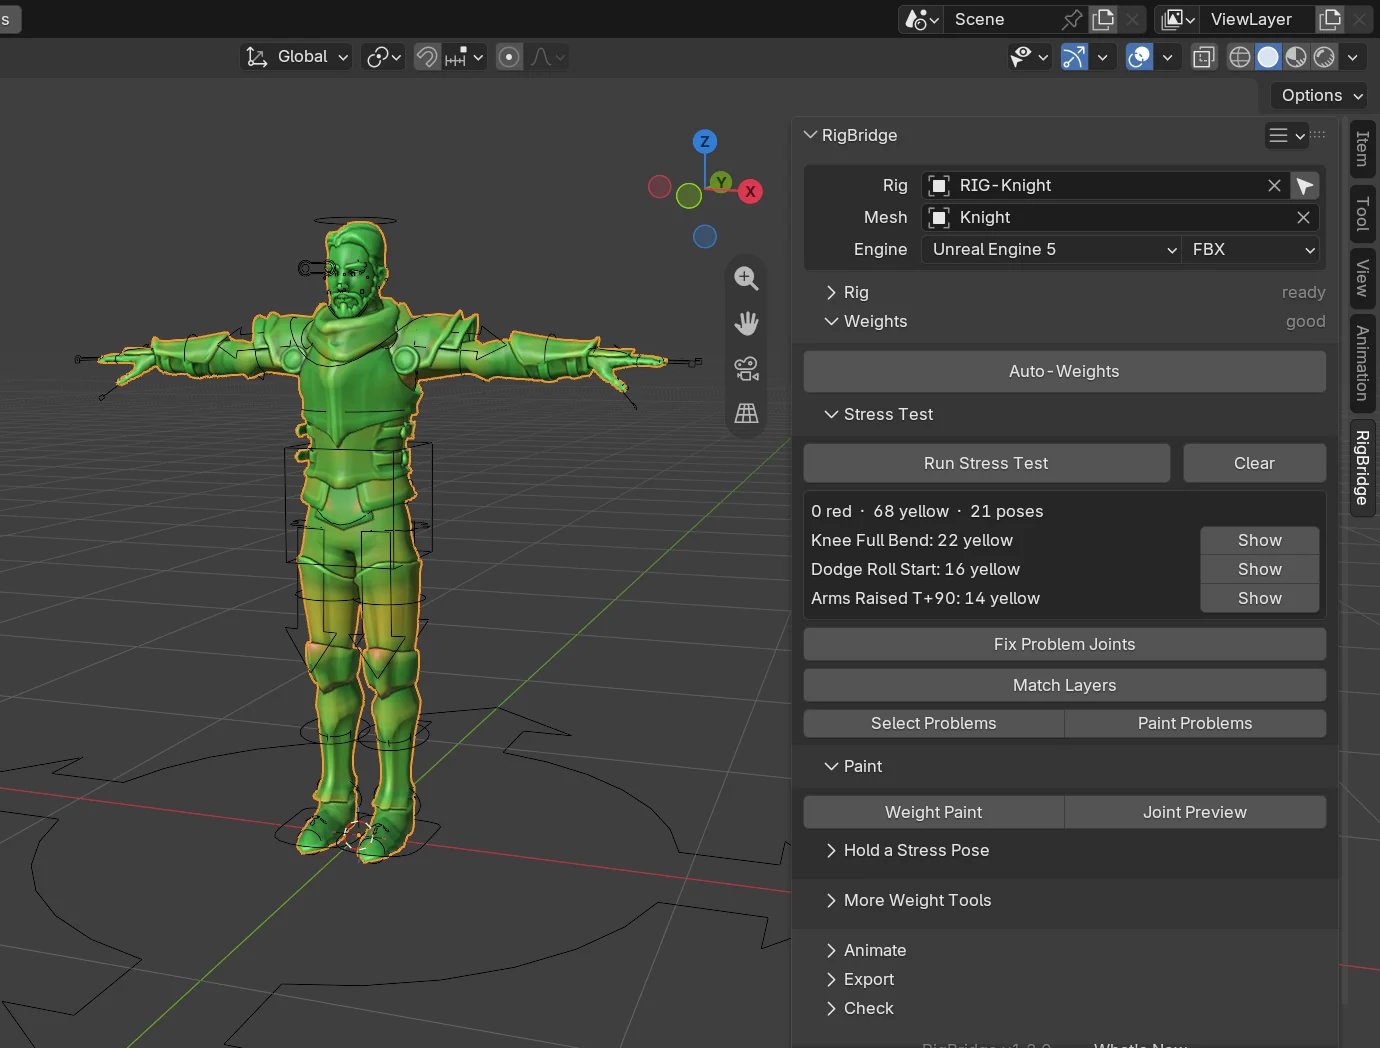
- Red now means it looks broken: a spike, a dent, an unweighted hole, a part pulled the wrong way, a seam opening, a body pushing out through its clothes. I tested it on 33 professionally weighted characters: 24 come through all 21 poses without a single red vertex and the rest with a handful, while the same characters with broken weights turn red right where they're broken. Before, skin stretching over any bent knee or elbow was painted red, on every character.
- Yellow is worth a look. Under the counts the panel lists the poses to look at first, each with a Show button that holds the pose.
- Knows a humanoid however its bones are named (UpperArm.L-style names, VRoid, Character Creator, DAZ), feet that hang from the root as on IK rigs, and armatures imported at 100x scale. These used to get the wrong poses, legs that stretched for nothing, or no poses at all.
- An animal gets poses of its own, made from its bones: each leg on both sides, the hips and shoulders, the back, the neck, the head, the tail and the jaw, each bent as far as an animal bends there. A Rigify wolf used to be taken for a person and get its front legs raised like arms. Hooves or paws that hang from the root (for IK) go with their legs, so a bent leg isn't stretched to a hoof left on the ground.
- On a character with no weights yet it says so and points you to Auto-Weights, instead of blaming its poses.
- Fix Problem Joints leaves good weights alone: it only works where something looks broken. It smooths the weights there first, then gives joints that still look rough a clean blend between their two bones, and keeps each change only when the stress test gets better with it. On a big mesh it tries its fixes on the poses that show a problem and checks every pose once at the end, so it doesn't take ages.
Match Layers5
- New Match Layers button (Weights > Stress Test): for clothing that pulls away from the body in a pose, or that the body pokes through. Select it in Edit Mode, or the body under it, or both, and click it: the clothing takes the weights of the body under it, so they bend together, and the body keeps its own. If that isn't enough, both go halfway. The change fades out past the clothing's edge, so the body doesn't crease there. It runs the stress test before and after: if your character looks worse, your weights are put back.
- A sleeve, a cuff, a belt or a boot that goes round a limb follows that limb even when its own weights are on another bone. Hair lying on a collar keeps its weights.
- Works across meshes: a jacket that is an object of its own over the body, both on one rig.
- Only layers of one body region are matched. Hair on the head lying over a collar, or a beard over the chest, keeps its weights and follows the head.
- Locked vertex groups keep their weights, and changed vertices stay within Max Influences.
Smart Fit Full8
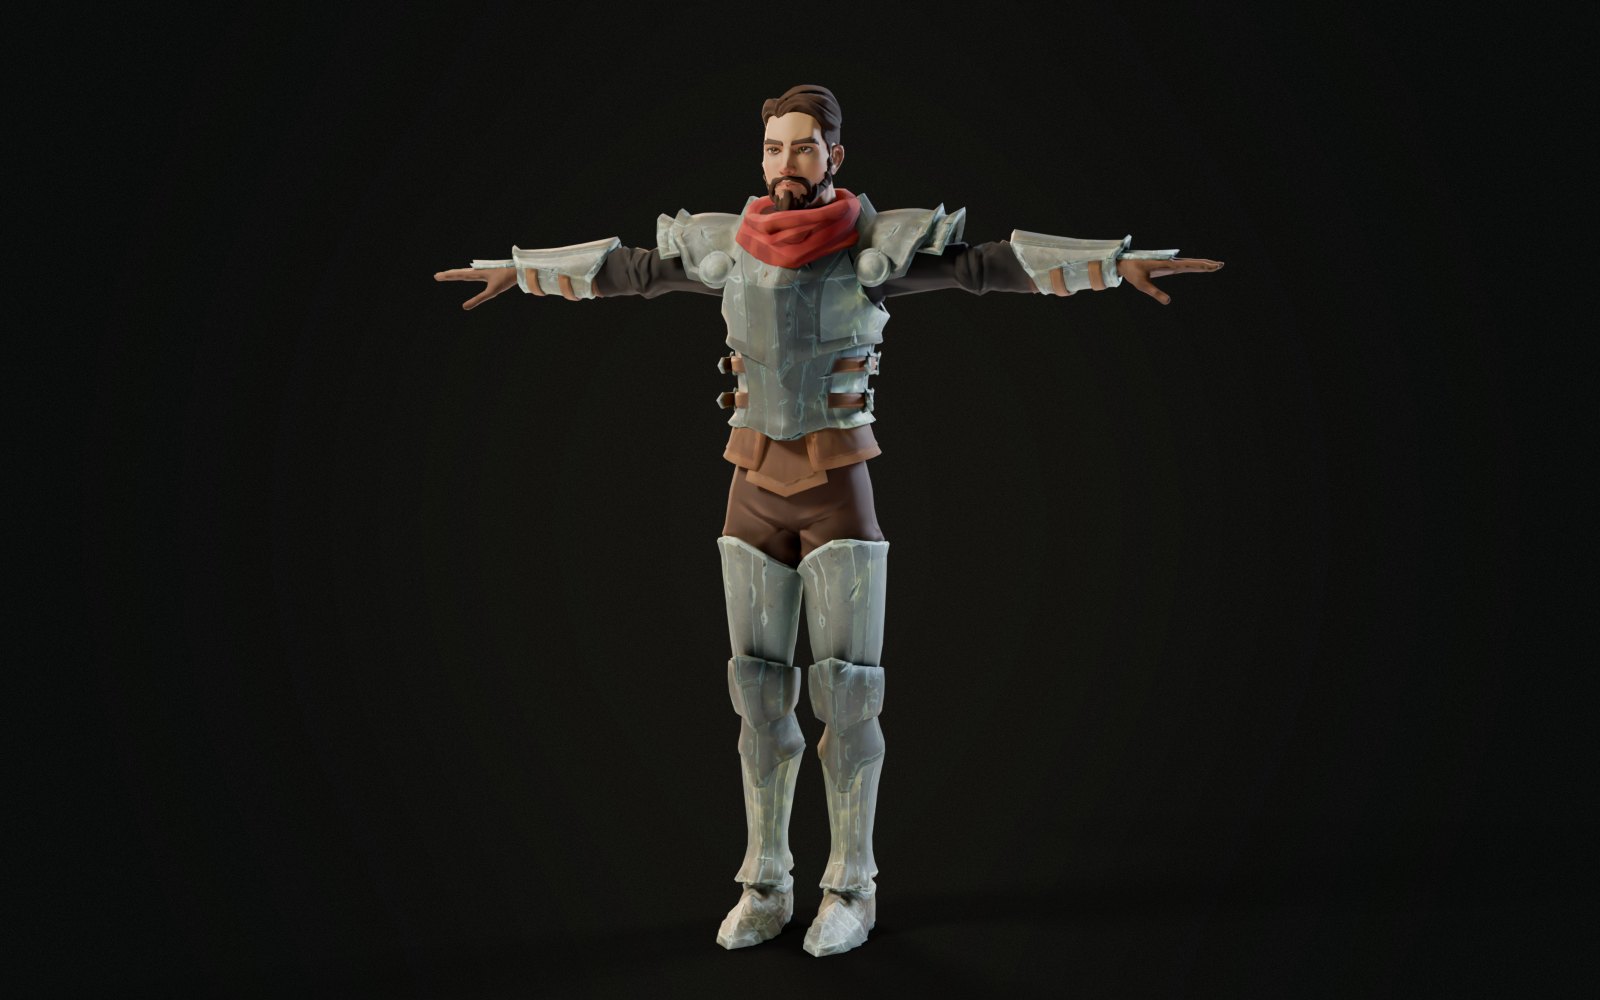
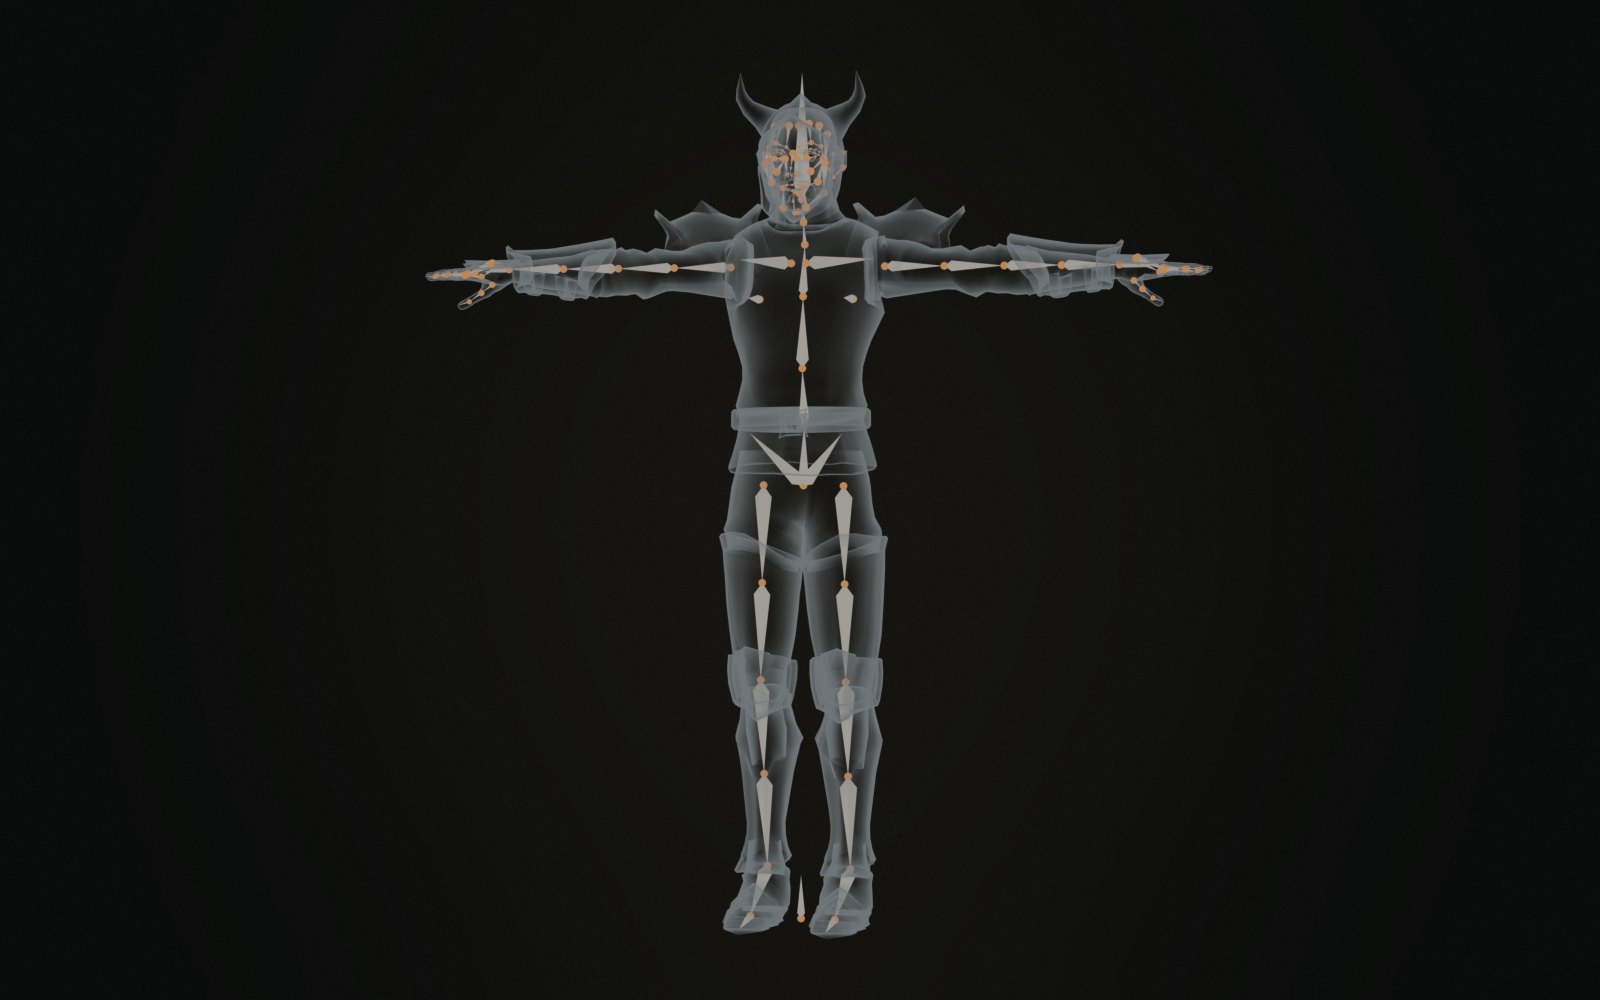
- New Smart Fit (Rig > Make a Rig > Human): select a two-legged character's body mesh and click Smart Fit. RigBridge measures the mesh and places every bone of a Rigify human metarig on it: spine, neck, head, arms, legs, feet, every finger and the face.
- Works on characters standing on their feet facing -Y, arms in a T-pose or an A-pose (a relaxed one too, hands down by the thighs), from chibi to long-legged proportions: blocky minis whose big head sits right on the shoulders and mascots with a ball of a head included.
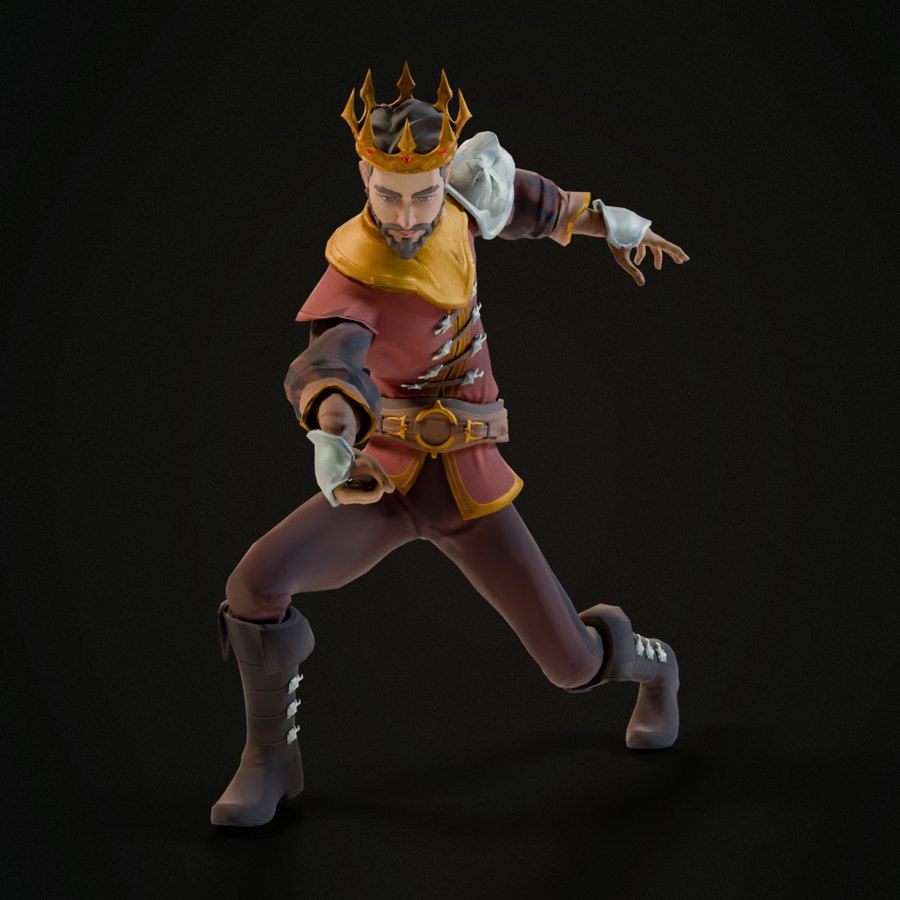
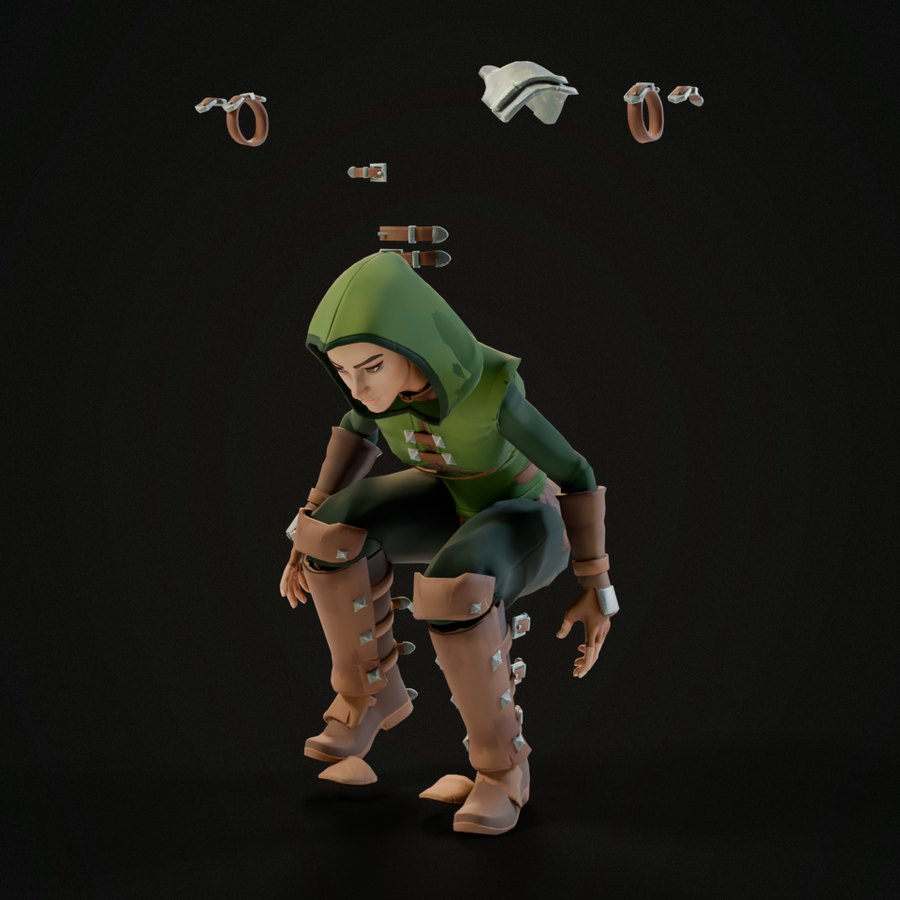
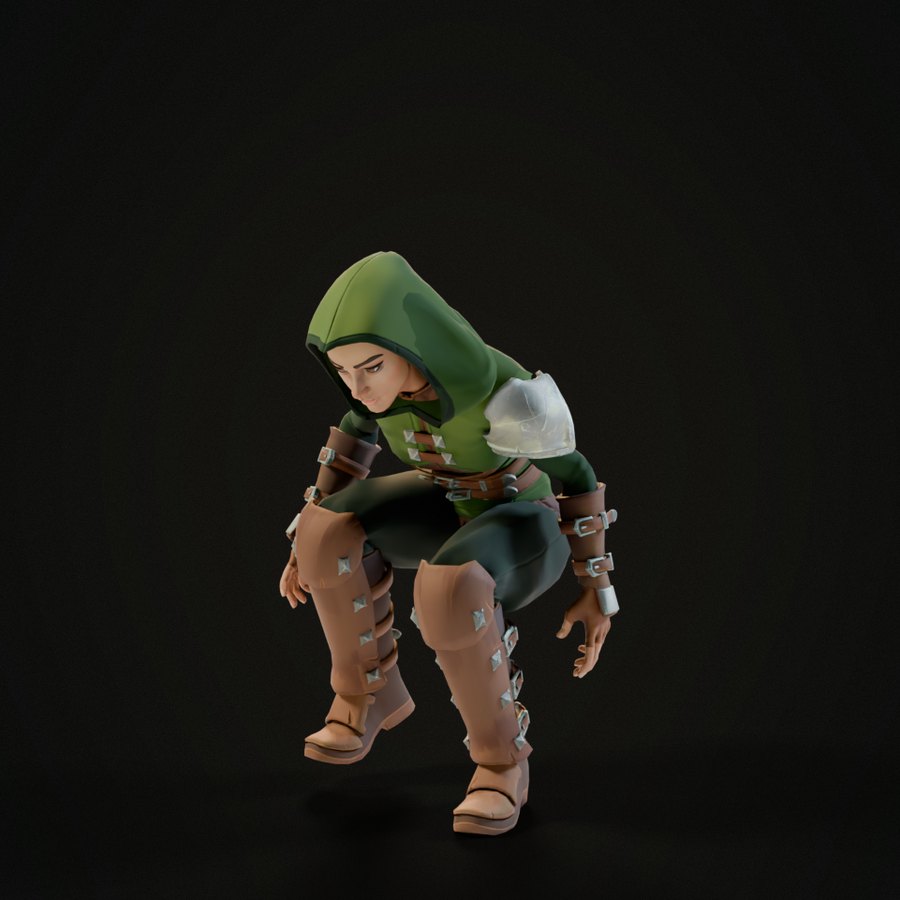
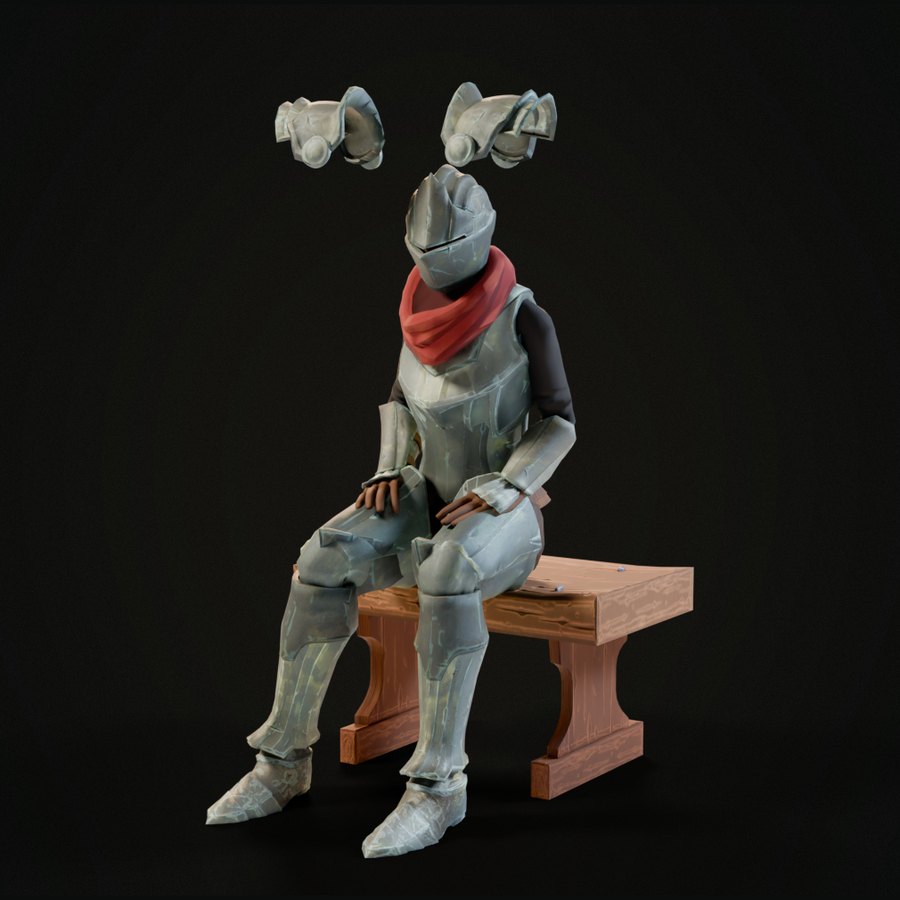
- Reads dressed characters: hoods, pauldrons, bracers, corsets, long hair, knee-high boots, plate armour, robes and open coats, belts and breastplates, legs pressed together, and fingers that touch along their whole length. The spine runs through the body behind them.
- Select the character with its floor, props or a whole set around it: Smart Fit works out which meshes are the character and names the ones it left out. A character in pieces (boots, legs, torso, arms and a hood as meshes of their own) is taken whole, and Generate Rig names the rig after it and picks the torso as its main mesh. Two characters selected, or one lying down or facing the wrong way, get a message saying what to do.
- Smart Fit reads the face: the eyes, the nose tip and the chin place the face bones (brows, lids, nose, lips, jaw, ears) and the head and neck joints, so a helmet, a collar, a beard or long hair doesn't move them. Separate eyeballs give the eyes; on a head without them, the bridge of the nose does. A low-poly nose that's a piece of its own counts.
- Markers show the measured joints (head, neck, hips, and the left shoulder, elbow, wrist, hip, knee, ankle and ball of the foot; the right side mirrors them): move one and click Refit to fit again around it.
- Generate Rig builds the rig (with Rigify, which comes with Blender) and sets up the next step for you: your rig and your character's mesh are picked in the panel, the rig is named after your character, the markers are cleared away and Weights opens. Every mesh of your character goes on the rig, the eyes and eyebrows too. Adjust Bones brings the metarig back if you want to move a bone and build again.
- Creature metarigs work the same way: select your creature first and Create Metarig sizes it to your creature and stands it where your creature stands, and the rig type follows the creature.
Retarget Animation Full9
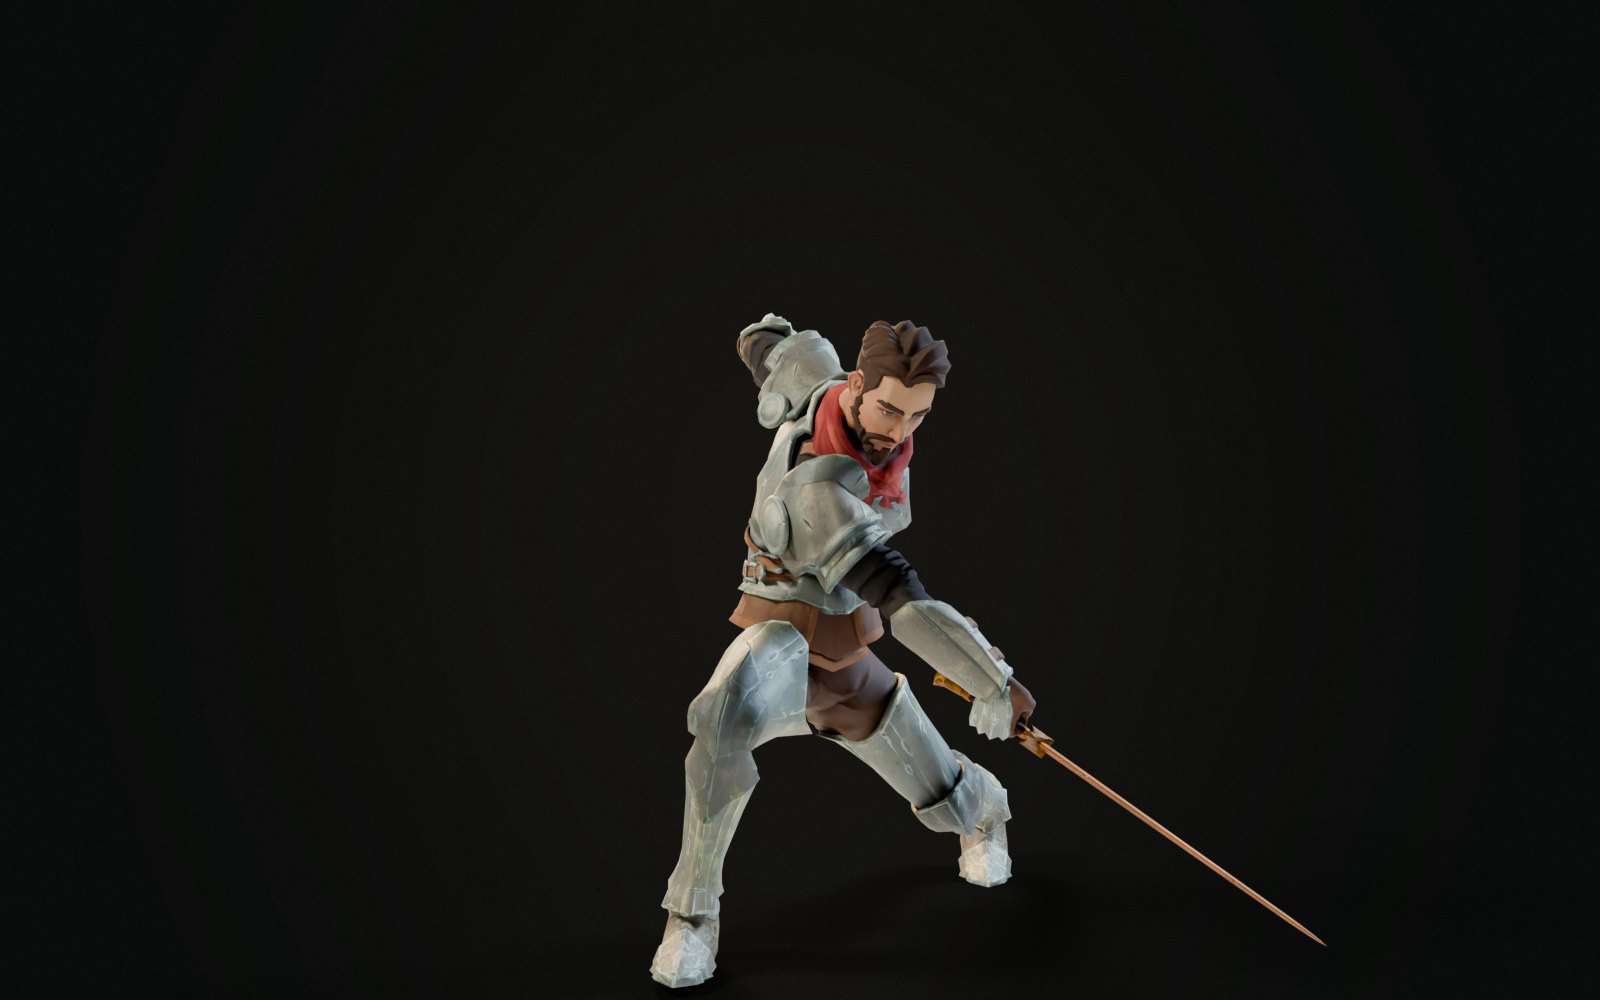
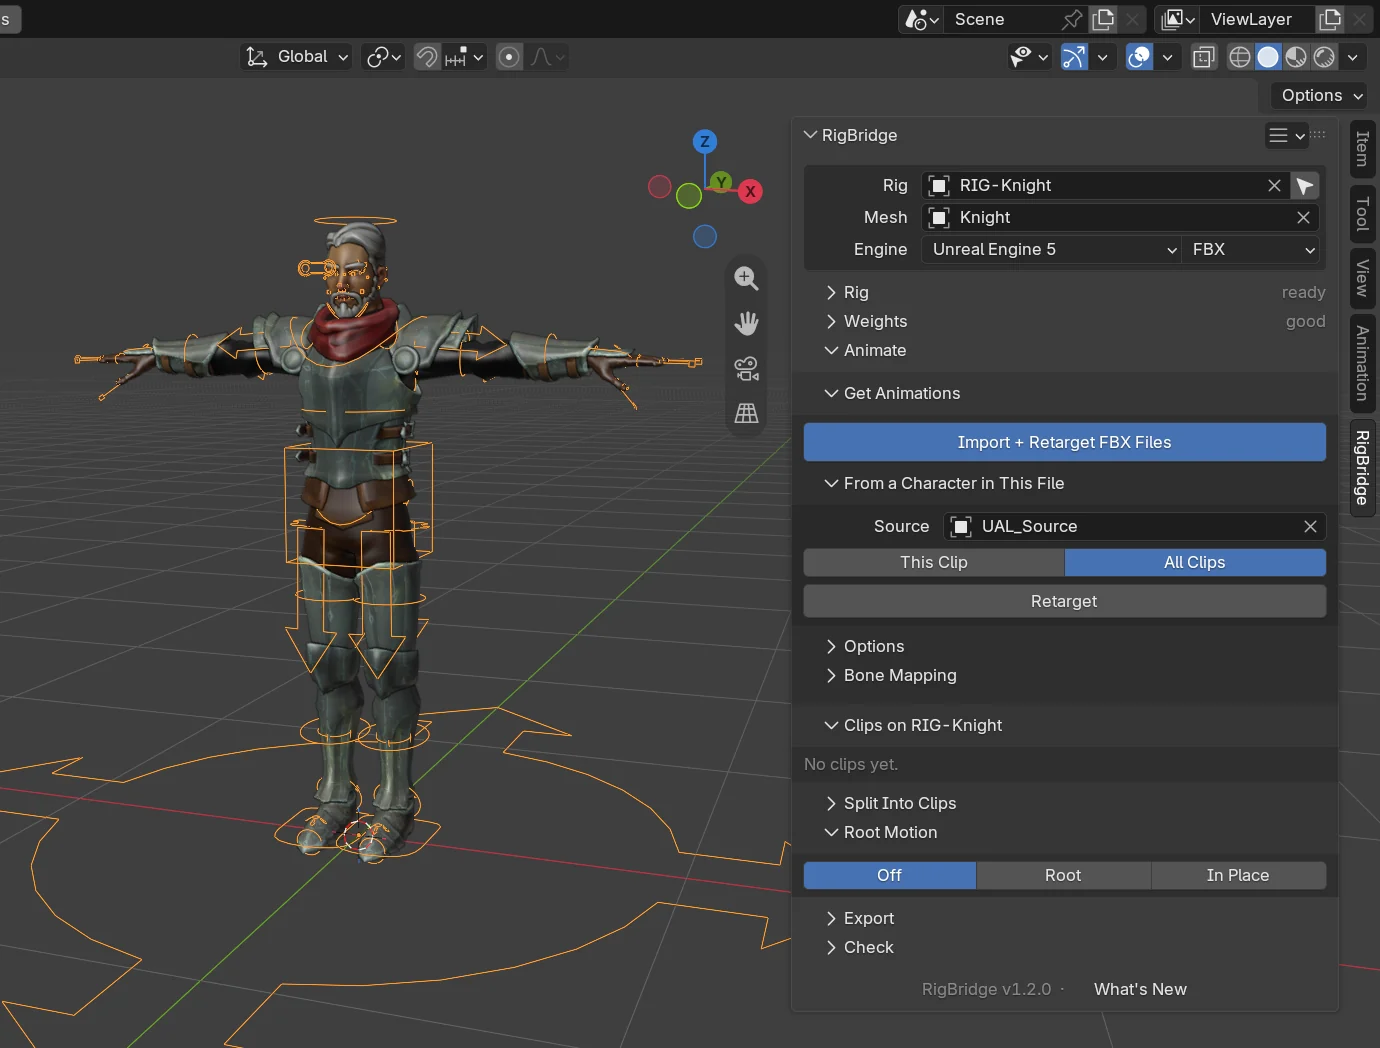
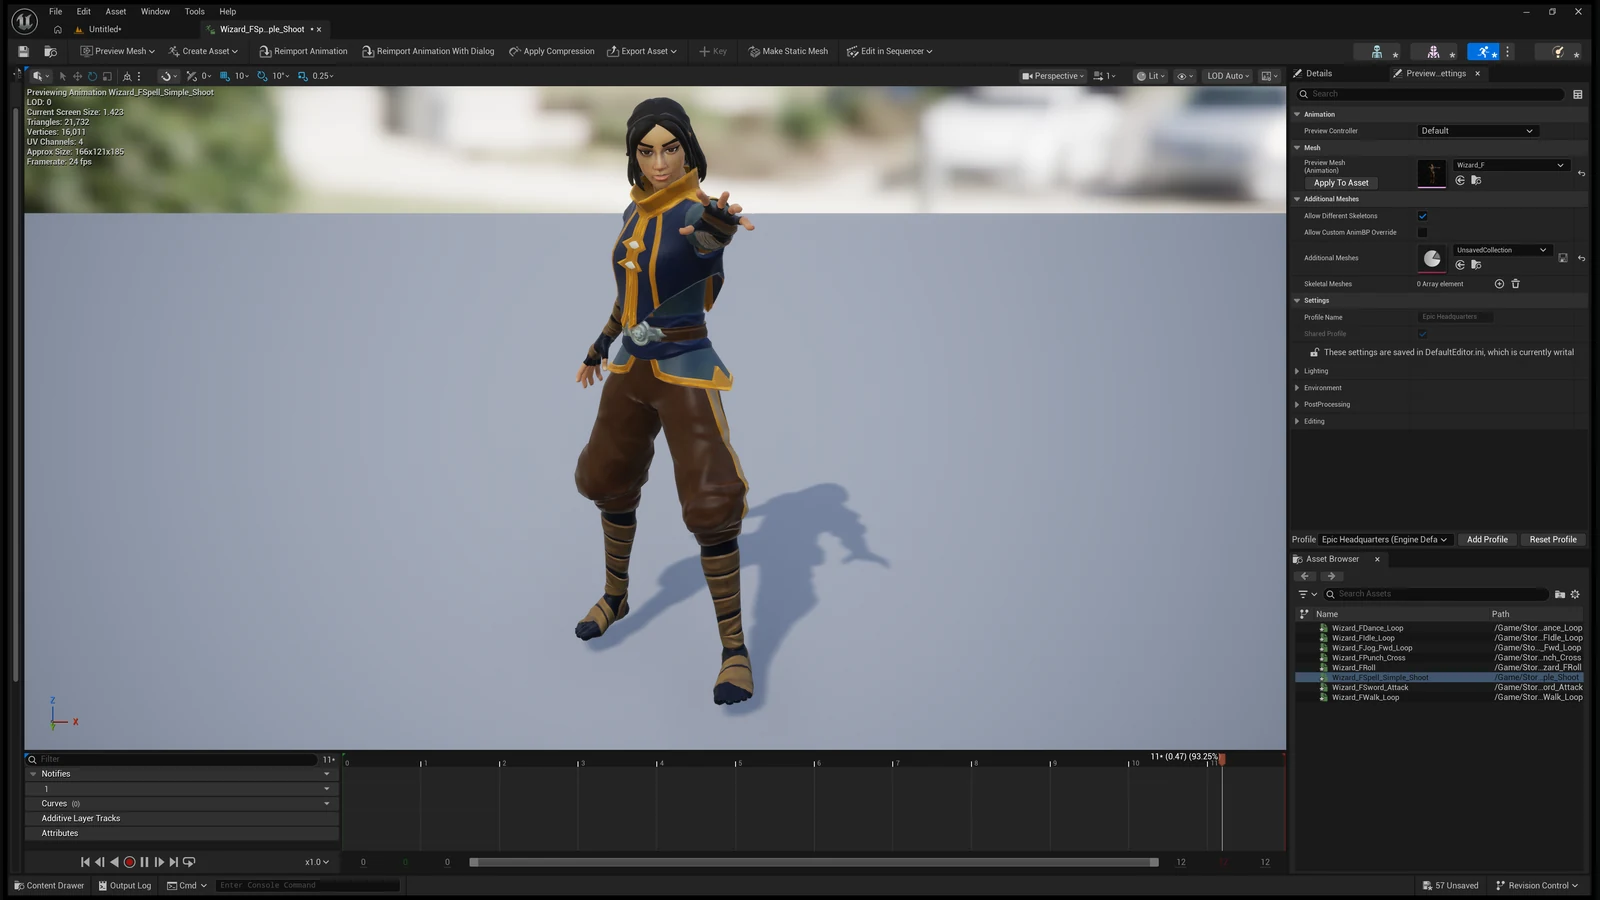
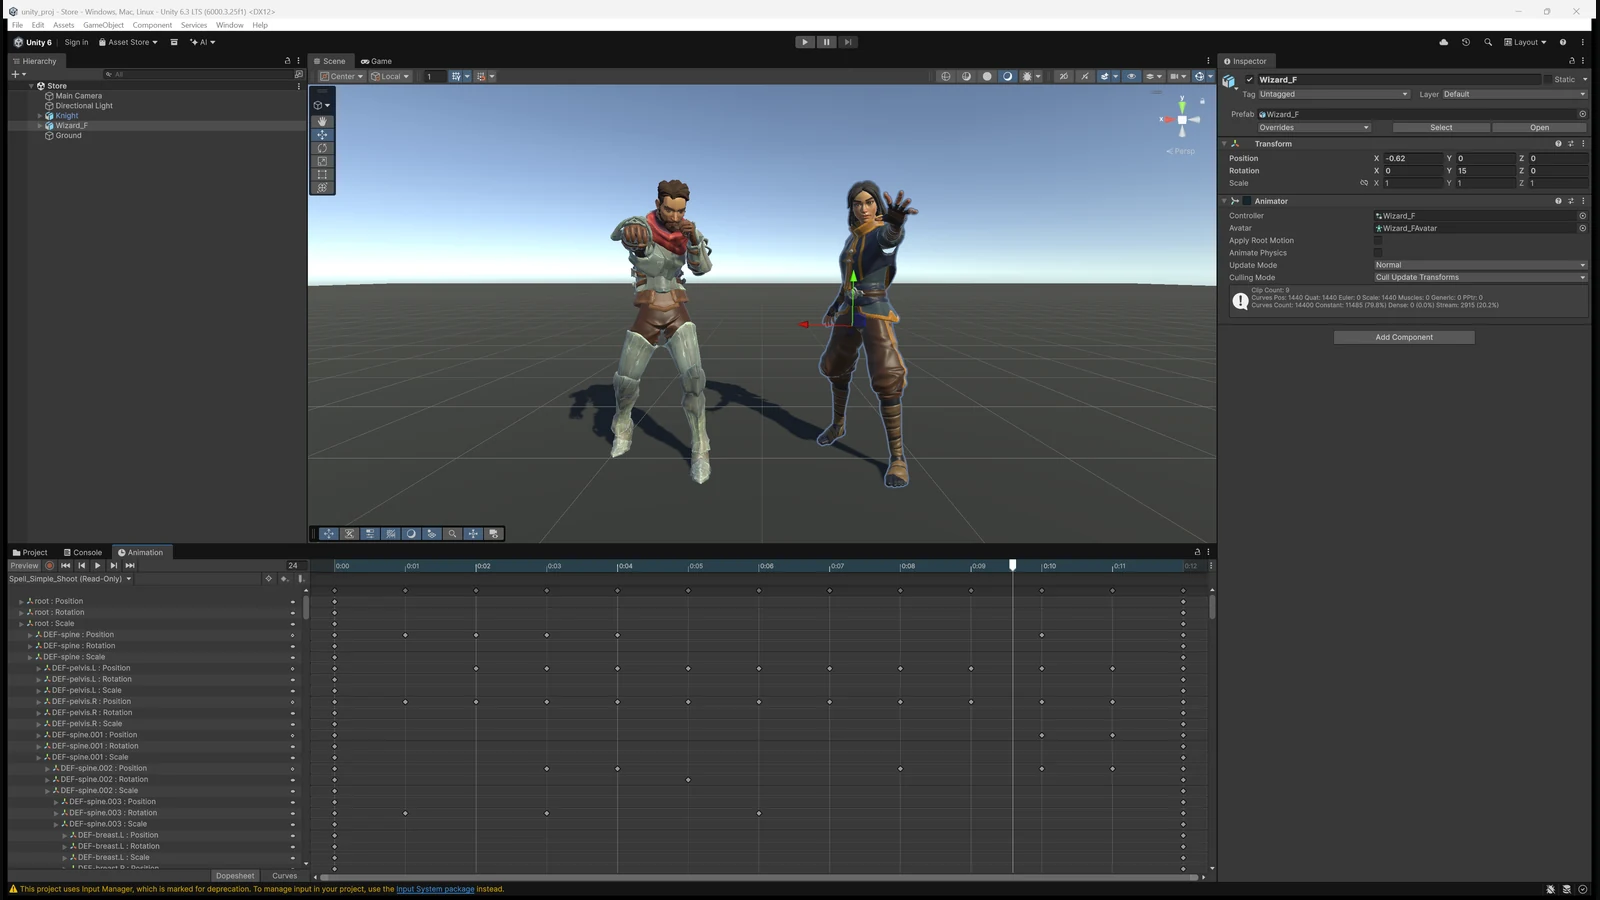
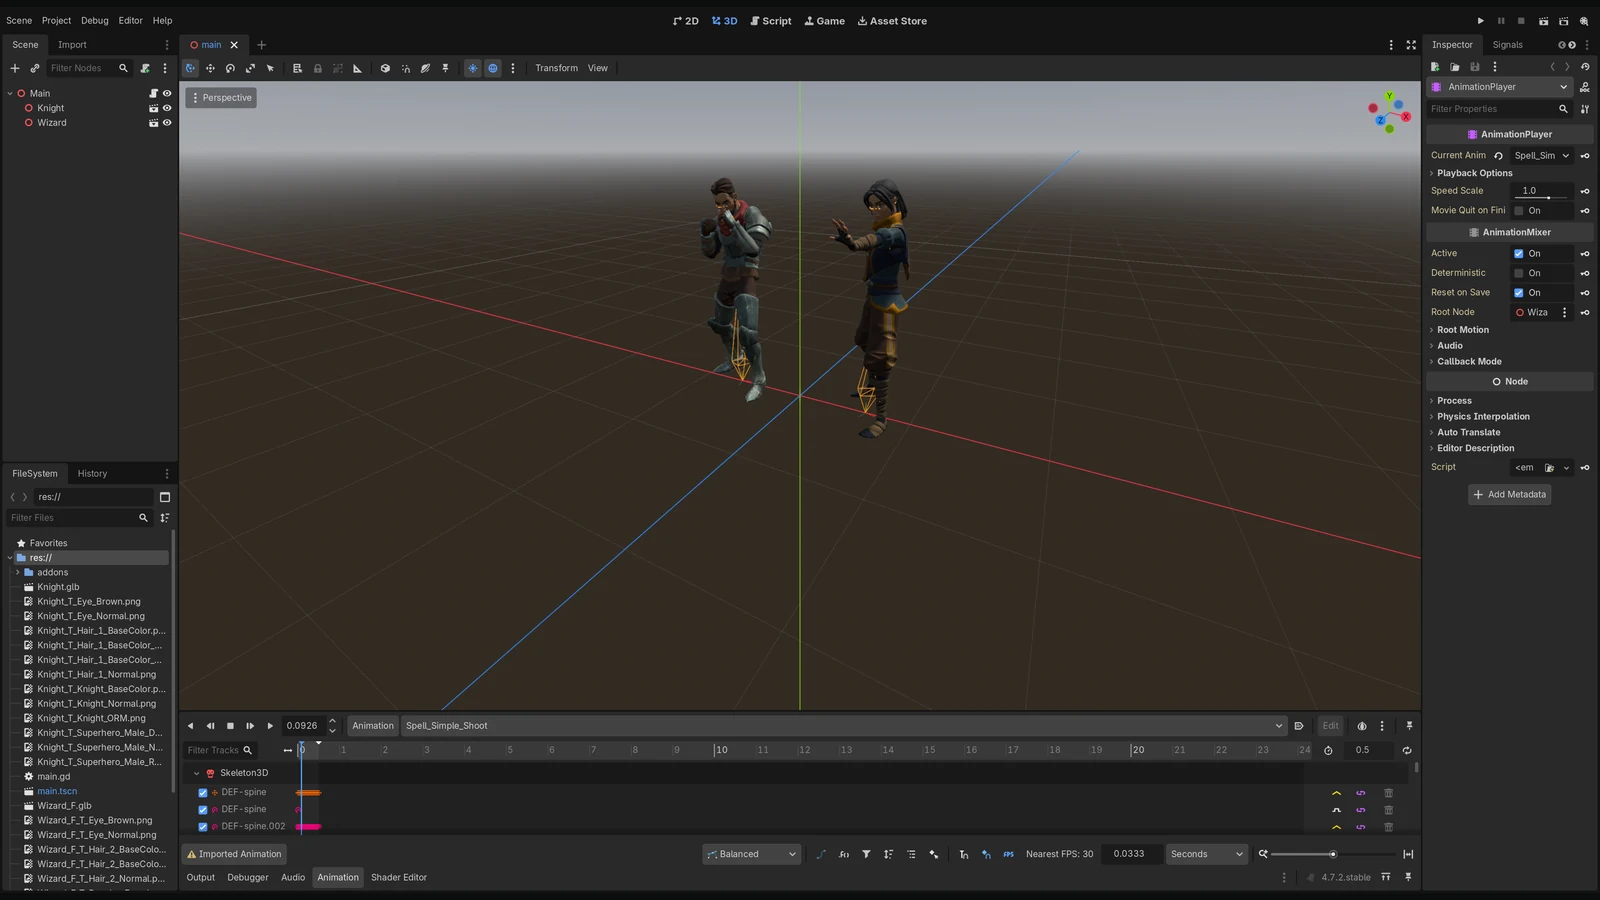
- New Get Animations section under Animate: copy animations from Mixamo, Unreal or any humanoid skeleton onto your rig.
- Import + Retarget FBX Files: pick one or many files. Each becomes an action on your rig named after the file, and the imported skeletons are removed again. Importing a file again refills its clip instead of adding a copy.
- Or copy the animations of a skeleton already in the scene: its current one, or all of them.
- Bones are matched automatically by name and hierarchy: Mixamo, Unreal, Rigify, Blender, Character Creator, DAZ, VRoid and most custom rigs. Bone Mapping shows what was found, to check or change it, and saves it as a preset for other characters.
- T-pose and A-pose rest poses are lined up, the hands keep the source's palm direction, spines and necks with a different number of bones share the movement along their length, and a source facing another way is turned to match.
- The hips' travel is scaled to your character's hip height, so a taller or shorter character's feet don't slide. Or set your own scale.
- The feet stand on the floor wherever the source's do, whatever your character's leg proportions: legs that bend into another height don't sink into the ground or float above it.
- Clips keep their real speed in your scene's frame rate (a 30 fps Mixamo clip in a 24 fps scene is resampled, not slowed down), and your scene's frame rate is left as it was.
- On a Rigify rig the FK controls, torso, neck and head are keyed, and the new clips switch arms and legs to FK. Plain skeletons are keyed on their bones. A game-ready (Export Only) rig gets an NLA track per clip, so Quick Export writes them.
Root Motion from Hips Full4
- New Root Motion section under Animate. Root Motion moves the hips' travel over the ground onto the root bone when clips are baked, so the engine moves the character. In Place takes the travel off, so the character stays where it started.
- Turning also moves the hips' turns onto the root, and Vertical moves jumps. Everything else keeps its place in the world.
- Each take can override the setting (This Take), and the section says when baked clips don't use the current settings yet.
- Needs a root bone: a bone named root, or a top bone at floor level that the hips hang from.
Split Into Clips3
- New Split Into Clips section under Animate: cut one long take into several animations. Cut Here splits at the playhead, From Markers makes one clip per timeline marker, named after it.
- Each clip bakes and exports as its own animation. The cuts are saved with the take.
- Re-baking a take drops its earlier bakes that no longer exist (the whole take once it has clips, clips removed or renamed), so they can't slip into the export.
Automatic weights that hold on game meshes10
- Auto-Weights runs the moment you click it on a mesh with no weights; on one that has weights it asks once before replacing them. How it weights is a setting under Weights (More Weight Tools): Standard (recommended), Best (slower), or the simple ones.
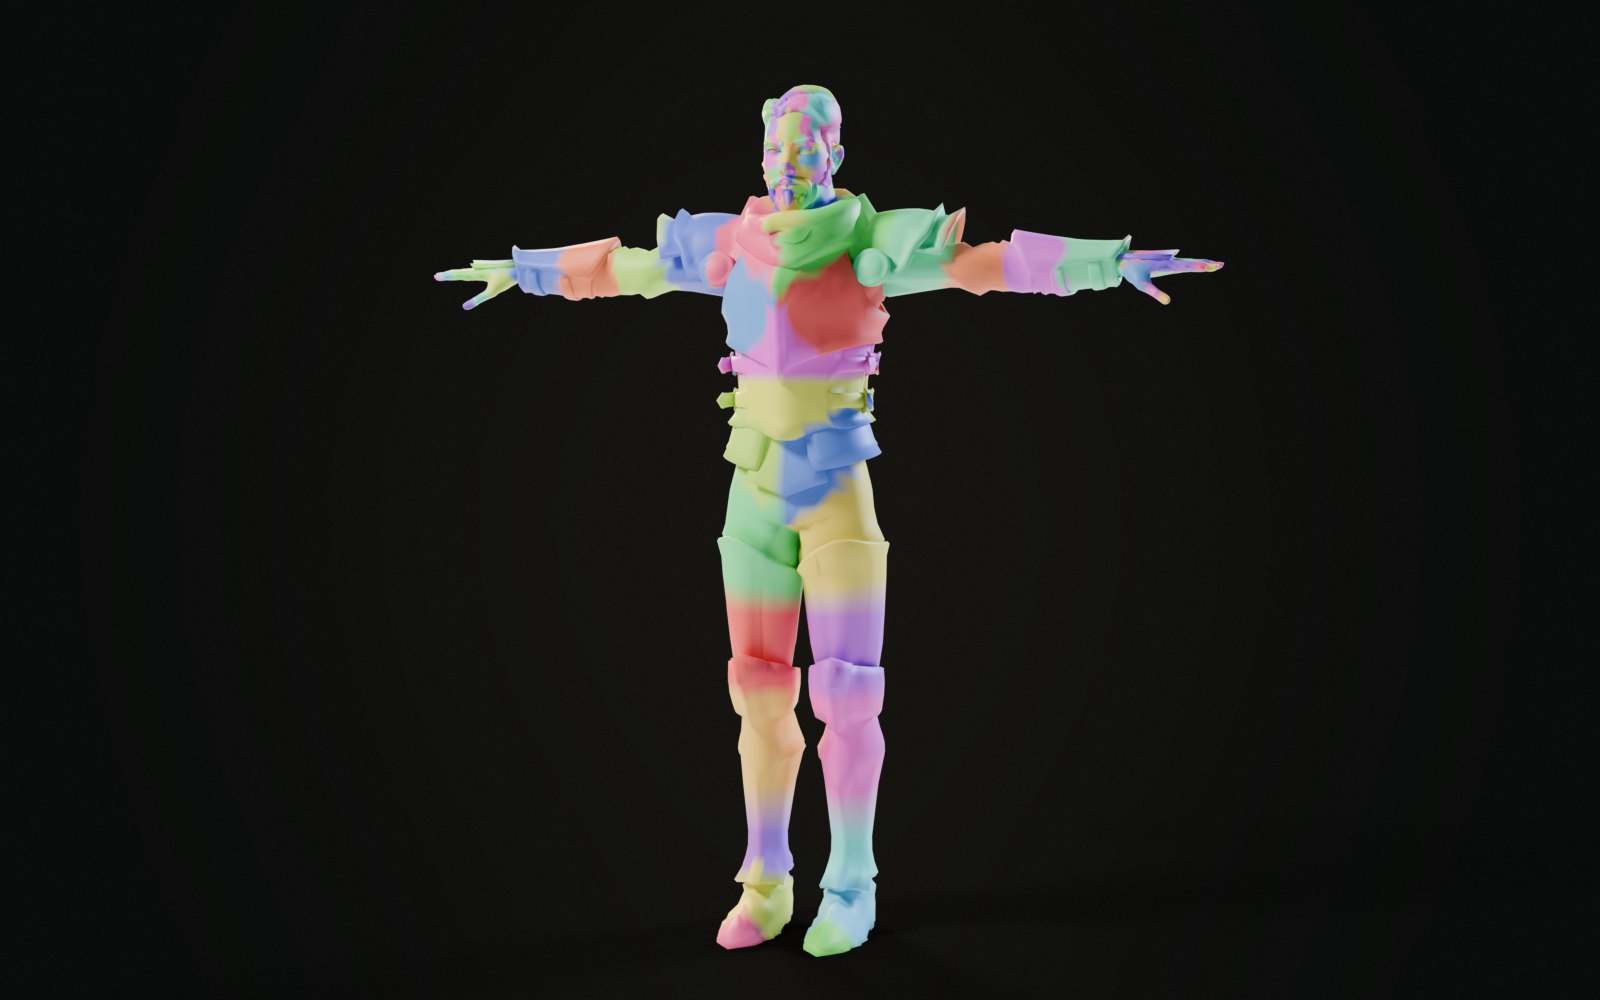
- A character made of several meshes (a body with eyes, hair and a jacket of their own, or one in pieces: boots, legs, torso, arms, a hood): Auto-Weights weights them all together, as one body, so pieces that meet at a seam bend as one. Small parts like the eyes move as one piece with the head, so they turn with it and don't stretch. Running it again weights them all again; a mesh you weighted yourself keeps its weights.
- The Stress Test, Select Problems, Fix Problem Joints and the Weight Audit look at every mesh of your character, so a jacket coming through the body or a gap opening between two pieces shows up red.
- Where the stress test still shows red, Auto-Weights (Standard and Best) repairs it the way Fix Problem Joints does: it smooths there, then blends the joints, and keeps each change only if the stress test gets better. With the stub-bone fix below, Auto-Weights now leaves 71 red vertices across 33 game characters where it used to leave 663; their artists' own weights have 91.
- A rig whose bones are short stubs (glTF imports often give 1 cm bones) is weighted as the limbs its bones stand for: the solve uses a copy of the rig whose bones reach each next joint, and your rig stays exactly as it is.
- Auto-Weights ends with the stress test, so its counts and the poses to look at are under Weights straight away.
- Auto-Weights and Weights Only (Heat) weld a mesh split at its UV seams (glTF imports are) for Blender's heat solve, and both sides of every seam keep the same weights through every weight tool, so no seam opens when your character bends.
- When a part no bone can be seen from (a body under closed clothes) stops the solve, each part of the mesh is solved on its own.
- Loose parts the solve skips, like buckles, studs and straps, take the weights of the surface they sit on; a small part moves as one piece.
- Face bones weight only the face. A pauldron, collar or strap next to the head follows the body, not the ears or the jaw; a hood, hair or a hat follows the head; a beard, brows and lashes keep the face's weights, so they move with a smile or a jaw drop.
Export All Setups1
- New Export All Setups button under your saved setups (the panel's menu): every saved character whose rig is in the file is loaded, built, baked and exported, one FBX each, named after the setup. Your current setup comes back afterwards.
Skeleton change warning1
- Every export remembers the skeleton it wrote. When the next export's skeleton has renamed, added, removed, re-parented or moved bones, a warning under Quick Export lists them, so a skeleton that no longer matches the one in your engine doesn't go unnoticed.
Bug fixes 17
- Build + Bake All, Bind Mesh and the Stress Test on a character with no weights yet tell you to run Auto-Weights. They used to point you to Blender's Parent > Armature Deform.
- No more boxes to tick before a button works: where something would be replaced or deleted, a dialog asks once.
- Build + Bake All bakes only your rig's clips. Another skeleton's animations in the file (a retarget source's own clips) that keyed one bone name your rig also has, such as root, were baked as extra clips of your character standing still.
- Select Problems selects only the problem vertices. Faces selected before came back with them in Edit Mode, so the whole mesh could show selected.
- Check Everything before Build + Bake All says which checks need the export rig first, instead of reporting step errors.
- Check Everything no longer warns about a character with nothing wrong: Verify Bake compares the take your rig plays with the clip baked from it (it compared another baked clip, so every bone looked 0.7 m off); after an export with Unreal names, Skeleton Compatibility no longer mistakes a face bone named "chin" for Rigify's control of that name; the Twist Audit reads Rigify's lower-half twist segments as right; face bones no clip moves are a note, not a warning.
- Weight Audit: rogue weight islands are patches that lie apart from a bone's main patch and far from the bone (a jaw bone weighting a strap on the chest), not slivers a few millimetres from it. Fix Rogue Islands and Clean Export Weights use the same rule.
- Animations reach the engine under their own names: "Walk", not "Walk_EXPORT", or "Walk - RIG-Hero" for a retargeted clip.
- A glTF export of a built character holds only its baked animations; the control rig's unbaked actions were written beside them.
- Heat weights (Auto-Weights, Weights Only): a boot, glove or pauldron on one side of the body takes no weight from the other side's bones. Legs that nearly touch no longer tear a boot when the other leg moves.
- Heat weights: the seat follows the hips in part, so it no longer caves into the body when a character sits, crouches or rolls.
- Fix Problem Joints works on Rigify rigs. The upper arms and thighs were blended into a Rigify bone that deforms nothing, which made the weights worse, so every fix was undone. Each joint's fix is now kept only if the stress test improves with it.
- The stress test no longer reports tears a Rigify character doesn't have. Bones hanging from Rigify's helper bones (the upper arms, the breasts, the face) stayed behind when the spine bent in a test pose, so the face and chest showed red. They now move with the body, here and in Joint Preview, and the counts are the real ones. Custom rigs built the same way get their stress poses too.
- The stress test sees clothing layers. A sleeve the arm comes through, a vest pulling away from the shoulder or a belt sliding off the waist showed green: no edge joins two separate parts, so stretch can't see them. Layers that touch at rest and pull apart or pass through each other in a pose now show red.
- A clip that doesn't key a bone property (Rigify's IK/FK switches, follow sliders) now bakes with your rig's own setting instead of the value the clip baked before it left behind.
- The What's New window shows the current version.
- Weights Only (Heat) works on a Rigify rig straight after Generate: Rigify hides its deform bones, and Blender's heat solve skipped them.